
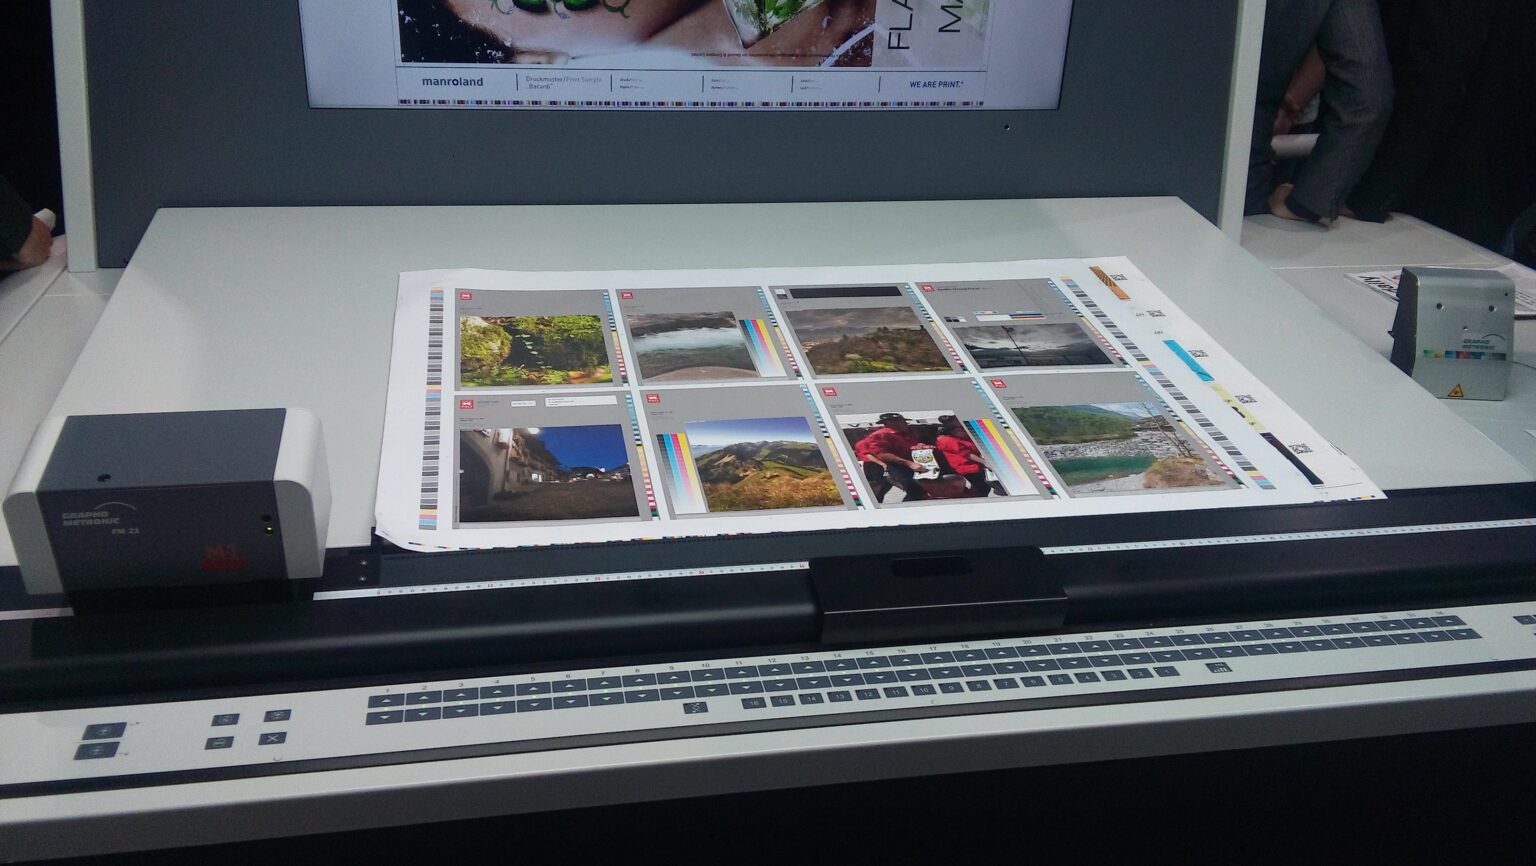
The difference between an acceptable print run and a commercially exceptional one is established long before the press reaches maximum production speed.
Proper makeready and pre-press setup procedures are the foundation of print manufacturing, directly dictating color fidelity, registration accuracy, and overall operational efficiency
These three critical pre-press procedures can make or break your job quality—and your client relationships.
Pre-Press Setup Phase 1: Precision Plate Mounting and Handling
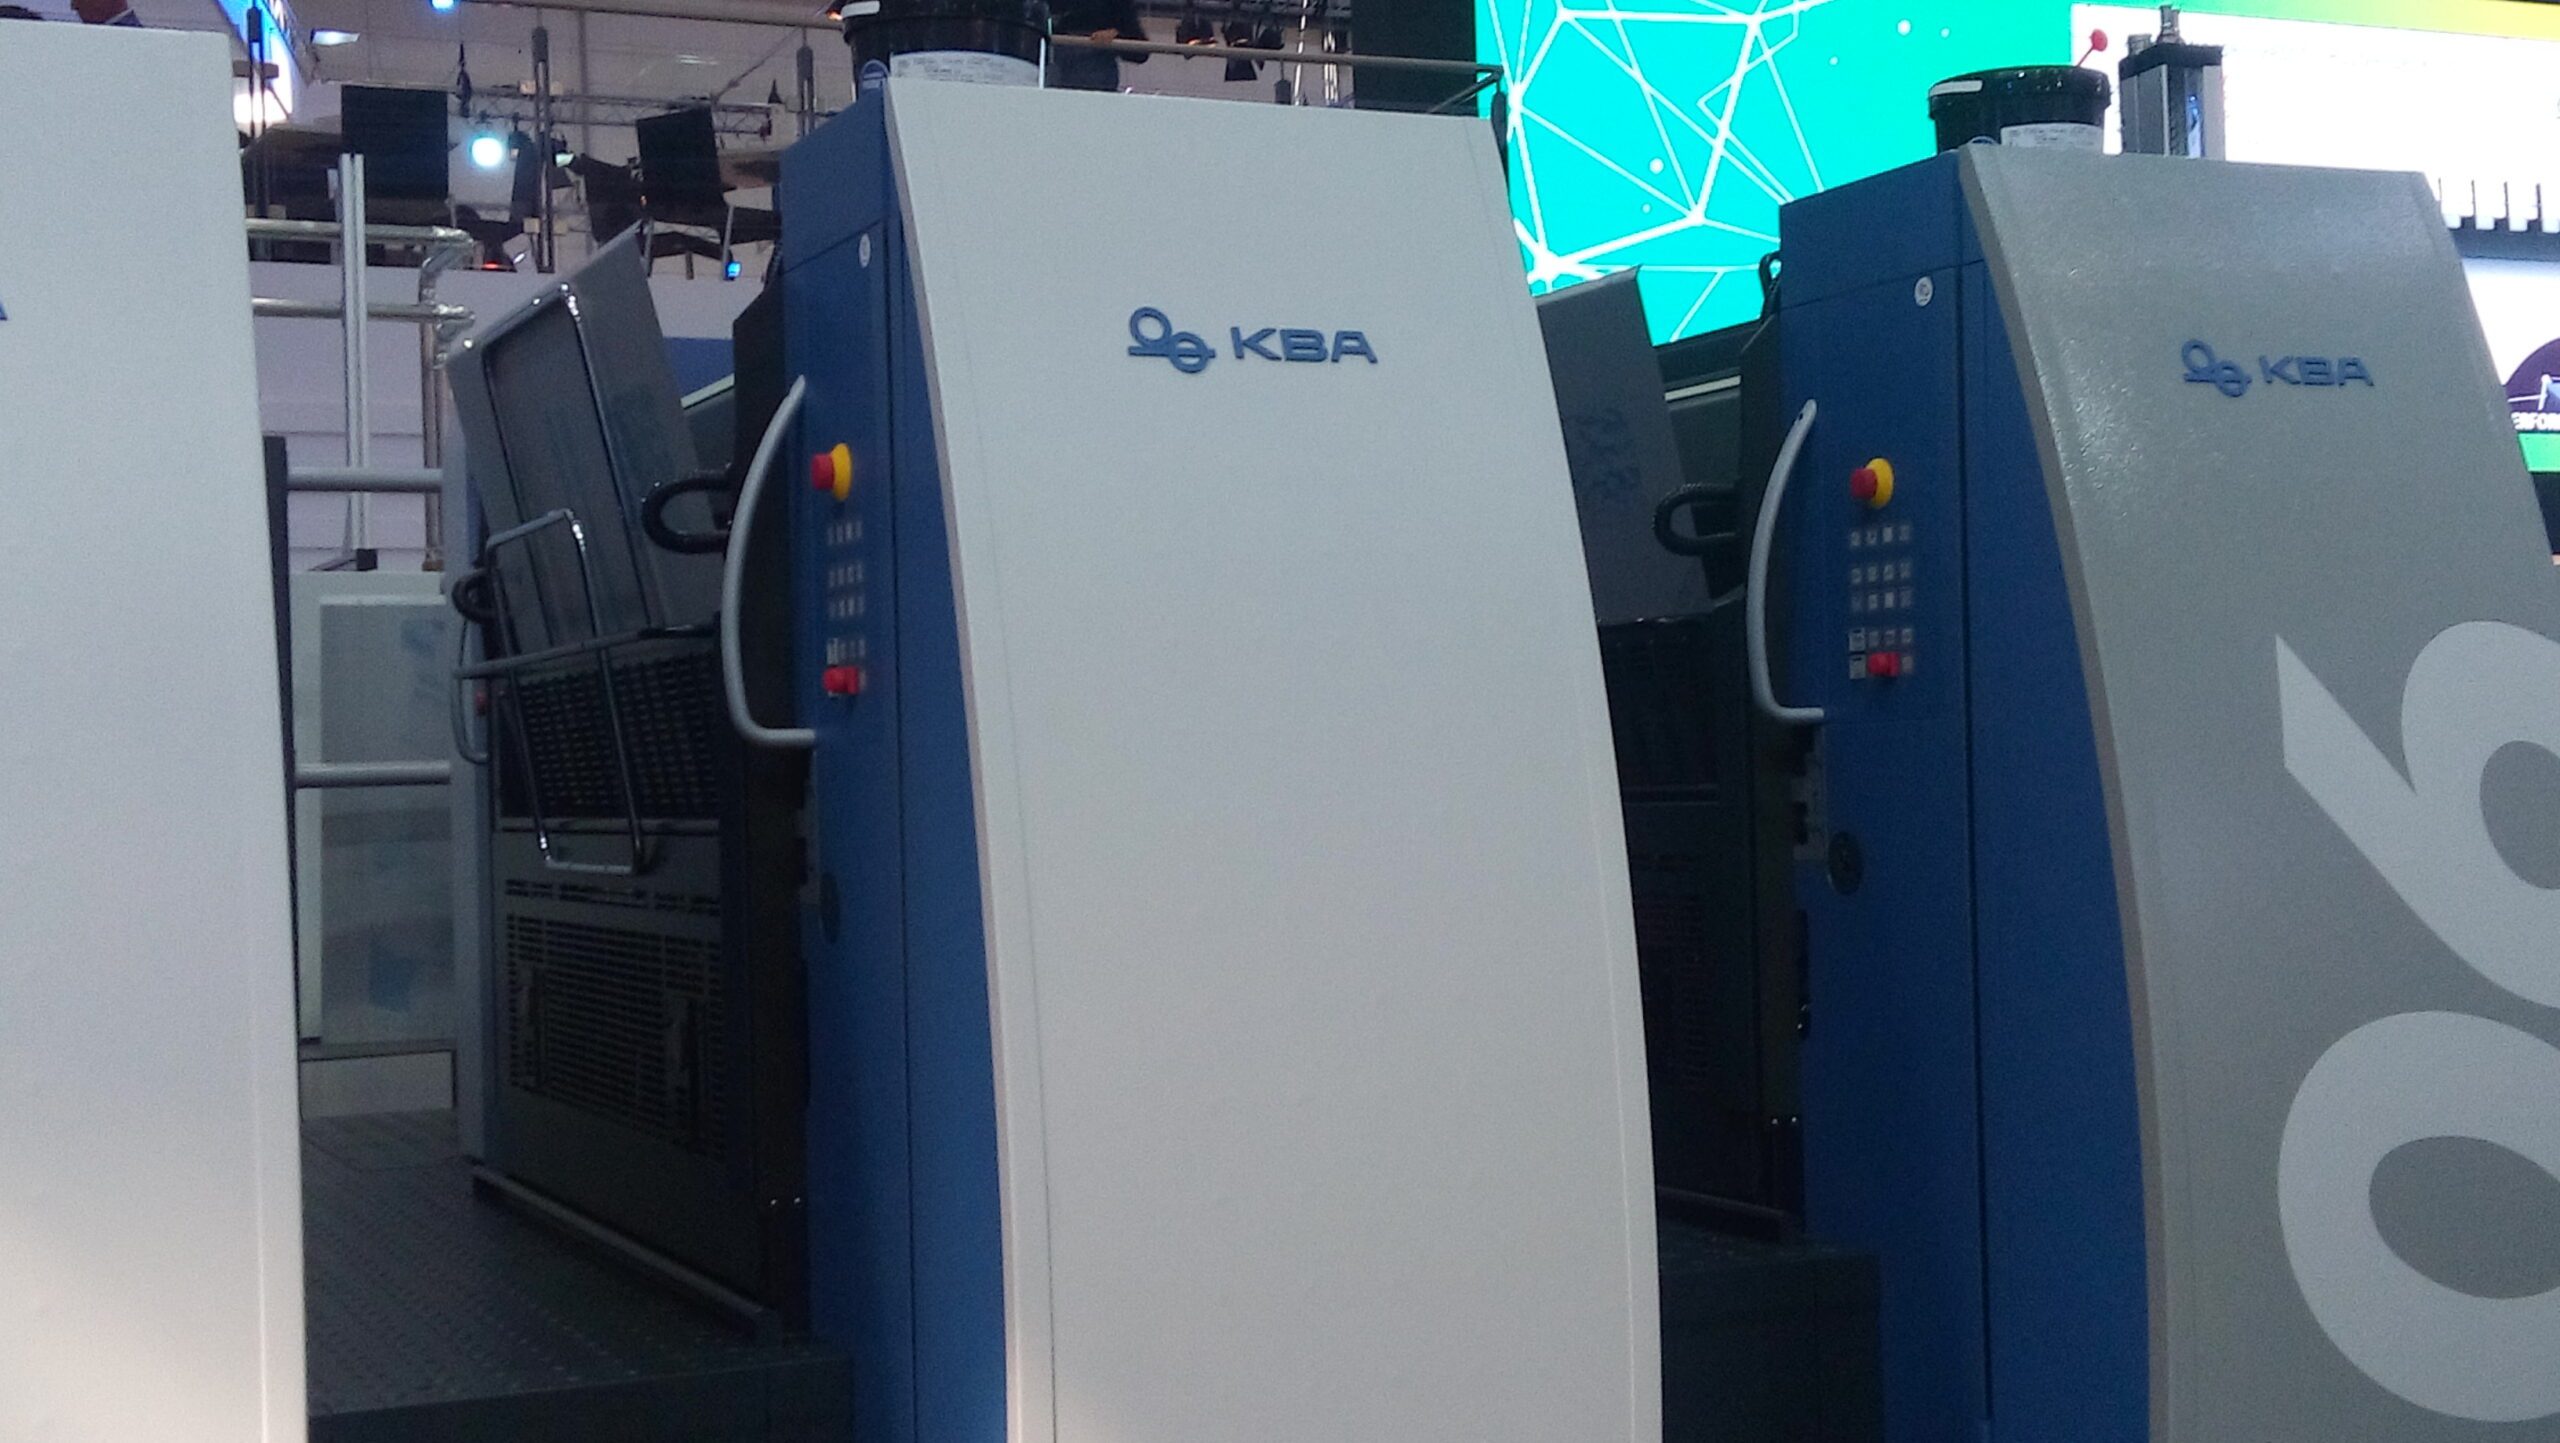
After the offset printing ink is set in the ink fountain, it’s time to set the plates on each color unit.
Whether you’re working with manual placement of printing plates or you have an automated system, this step requires your full attention.
A single scratch, fingerprint, or speck of debris on your plate will show up on every sheet in the run.
We’ve all seen jobs where a careless moment during plate mounting resulted in thousands of sheets with mysterious lines or spots that shouldn’t be there.
Your clients won’t care that it was “just a tiny scratch”—they’ll care that their job looks flawed.
The real challenge here is achieving perfect registration across all color units.
Each plate carries precisely punched register holes that correspond to pins on both the platesetter and the press.
This system ensures that when yellow, magenta, cyan, and black come together, they create sharp text and vibrant images instead of blurry, misaligned messes.
Pro tip: Take a moment to inspect each plate under good lighting before mounting.
Those few extra seconds can save you from reprinting an entire job.
Pre-Press Setup Phase 2: Ink Zone Configuration and CIP4 Integration
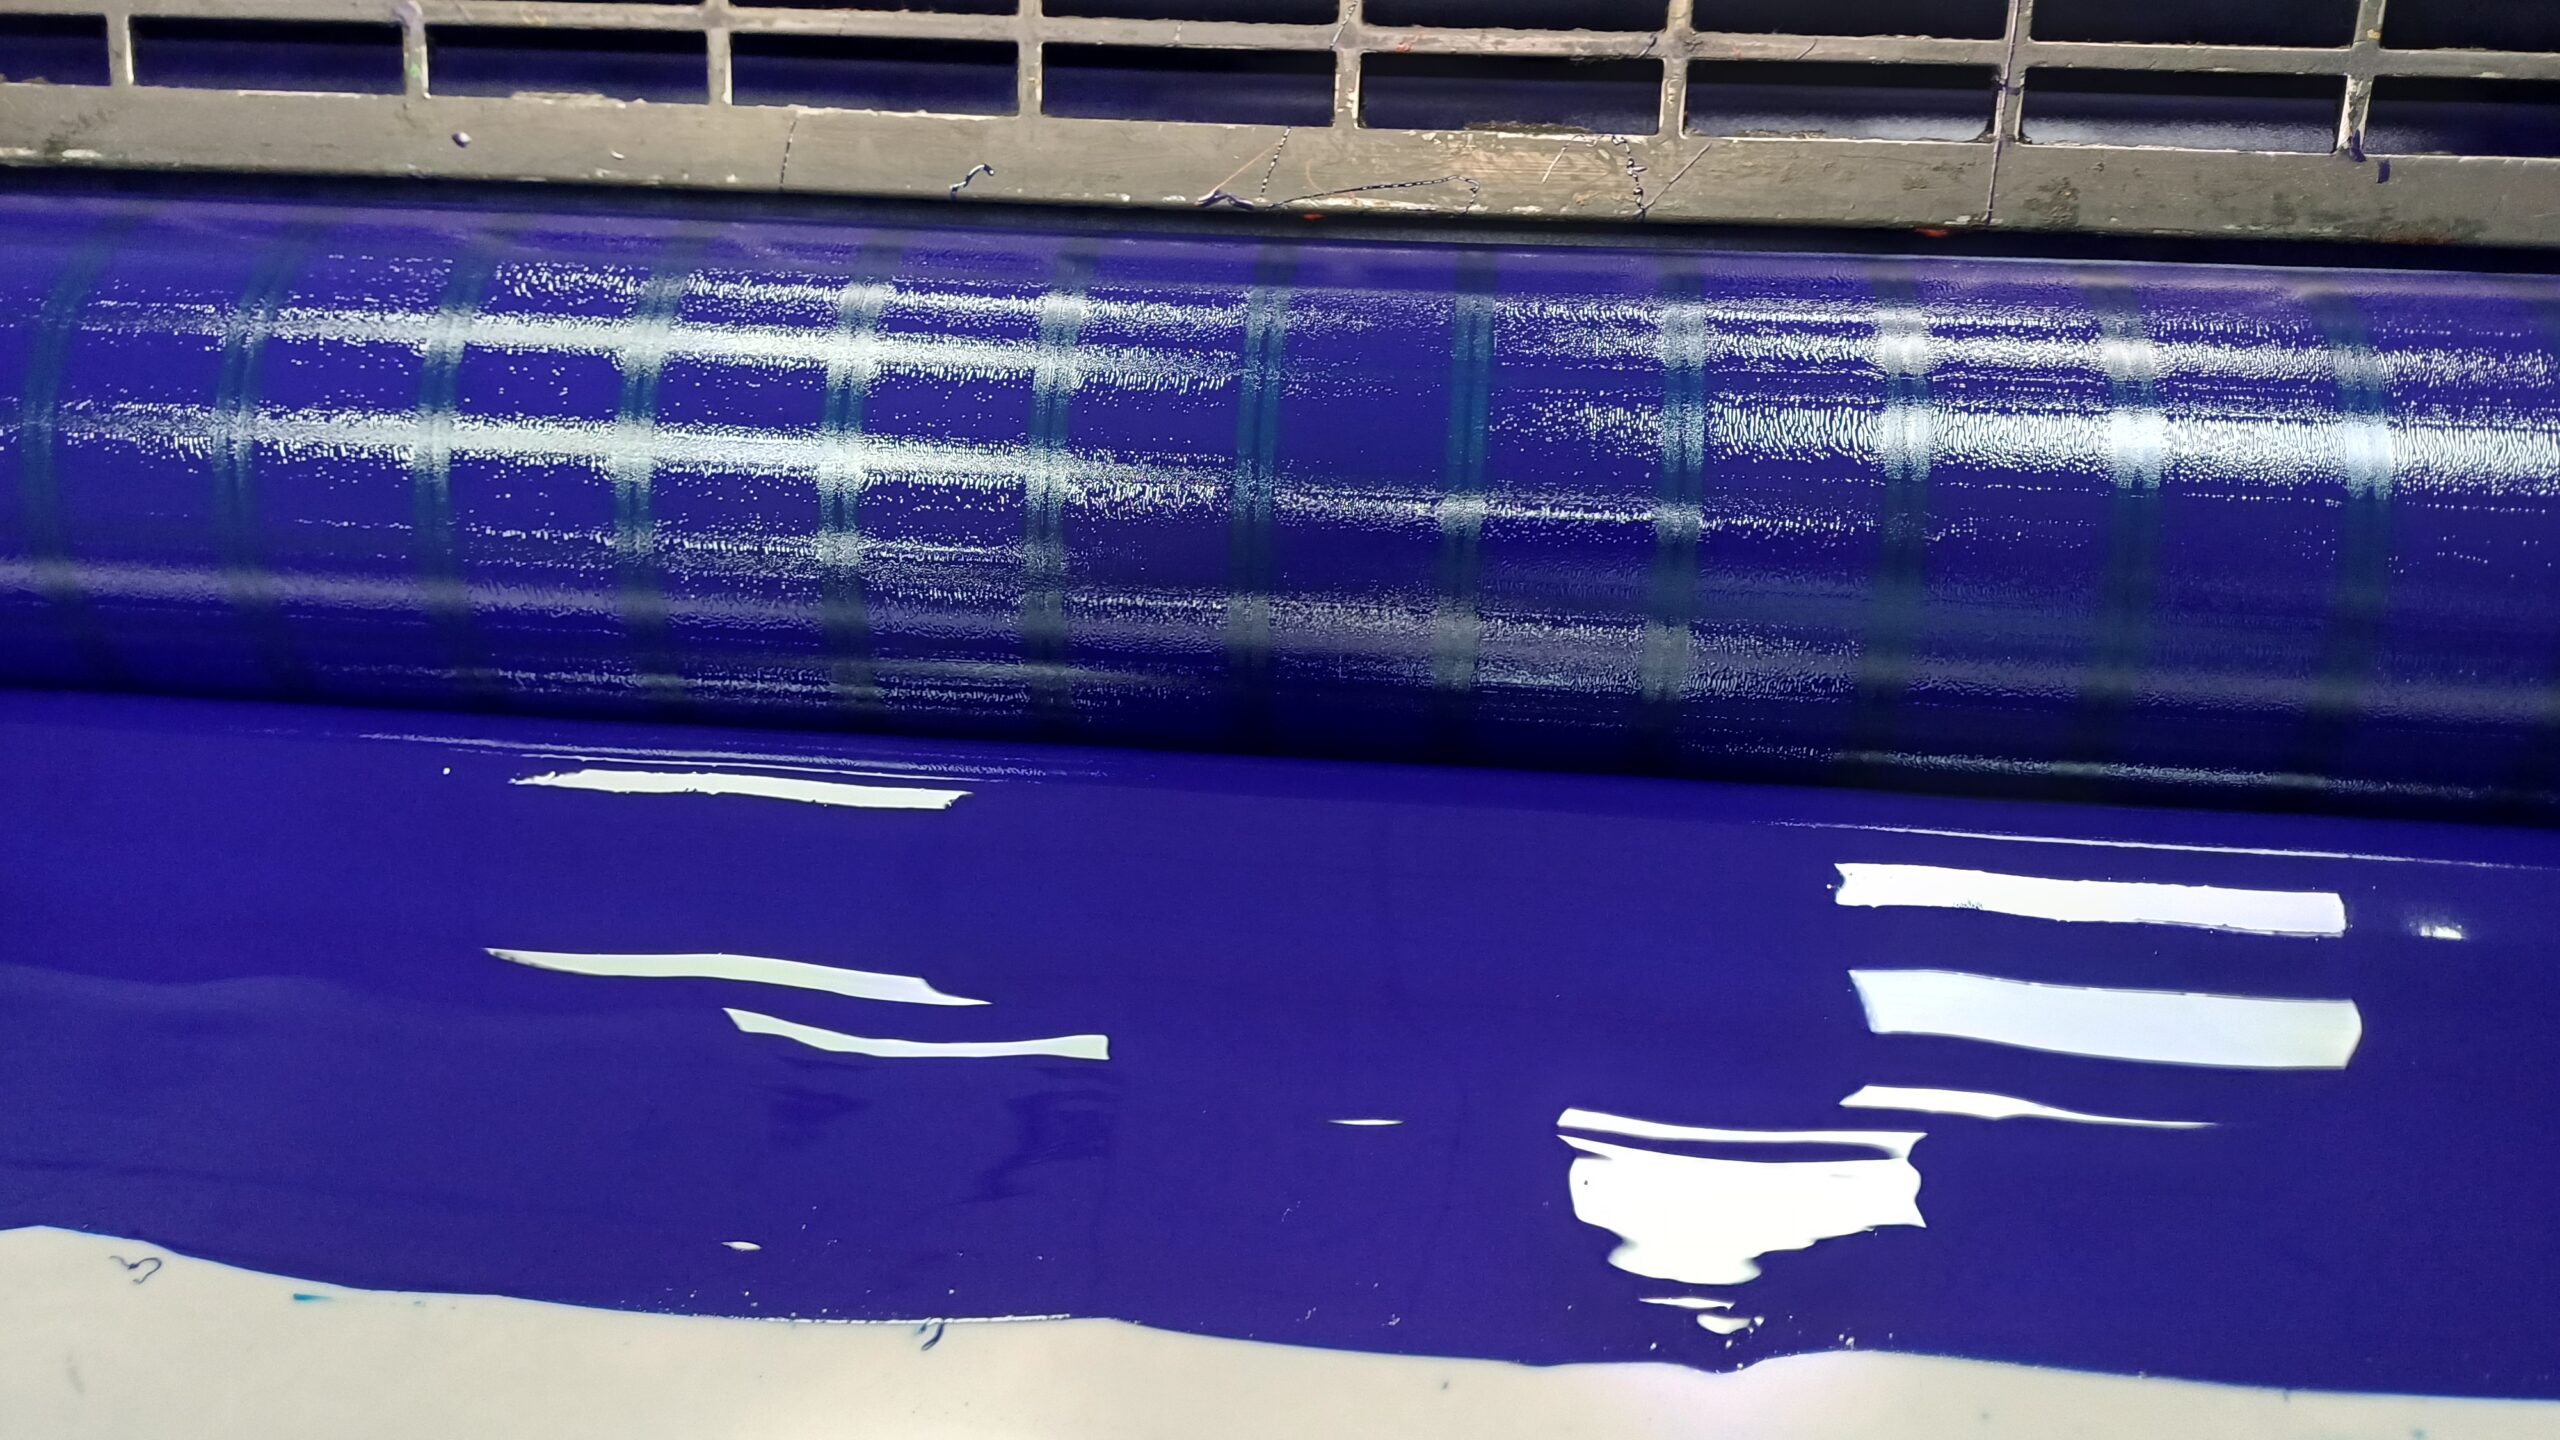
The centralized control console (CPC) of a modern offset press is a sophisticated data hub controlling the ink train.
Each row of indicator lights corresponds to a specific position along your ink roller – and more importantly, to a specific part of your printed image.
On contemporary presses, this initial configuration is not a guessing game.
It is driven by CIP3/CIP4 digital presetting.
The press console ingests digital coverage data directly from the prepress RIP, automatically adjusting the ink keys to match the image’s exact zonal ink requirements.
A significant advantage in this case is the experience of offset press operators, which can sometimes even surpass automation: you still need to manually fine-tune these settings.
Every job is different.
Paper absorption varies.
Humidity affects ink flow.
Solid coverage in your client’s logo may require more ink than your automated system initially calculates.
Modern presses give you incredible control over ink distribution across the whole sheet.
You can boost ink in zone 3 to handle a heavy solid while pulling back in zone 7 where you only have light text.
This zone-by-zone adjustment capability is what separates quality commercial printing from basic reproduction.
Key insight: Don’t rely solely on your ink key presets.
Use them as a starting point.
Final zonal adjustments must be dictated by closed-loop spectrophotometric data and visual inspection of the physical press sheet under standardized lighting.
Pre-Press Setup Phase 3: Dimensional Registration and Micro-Correction
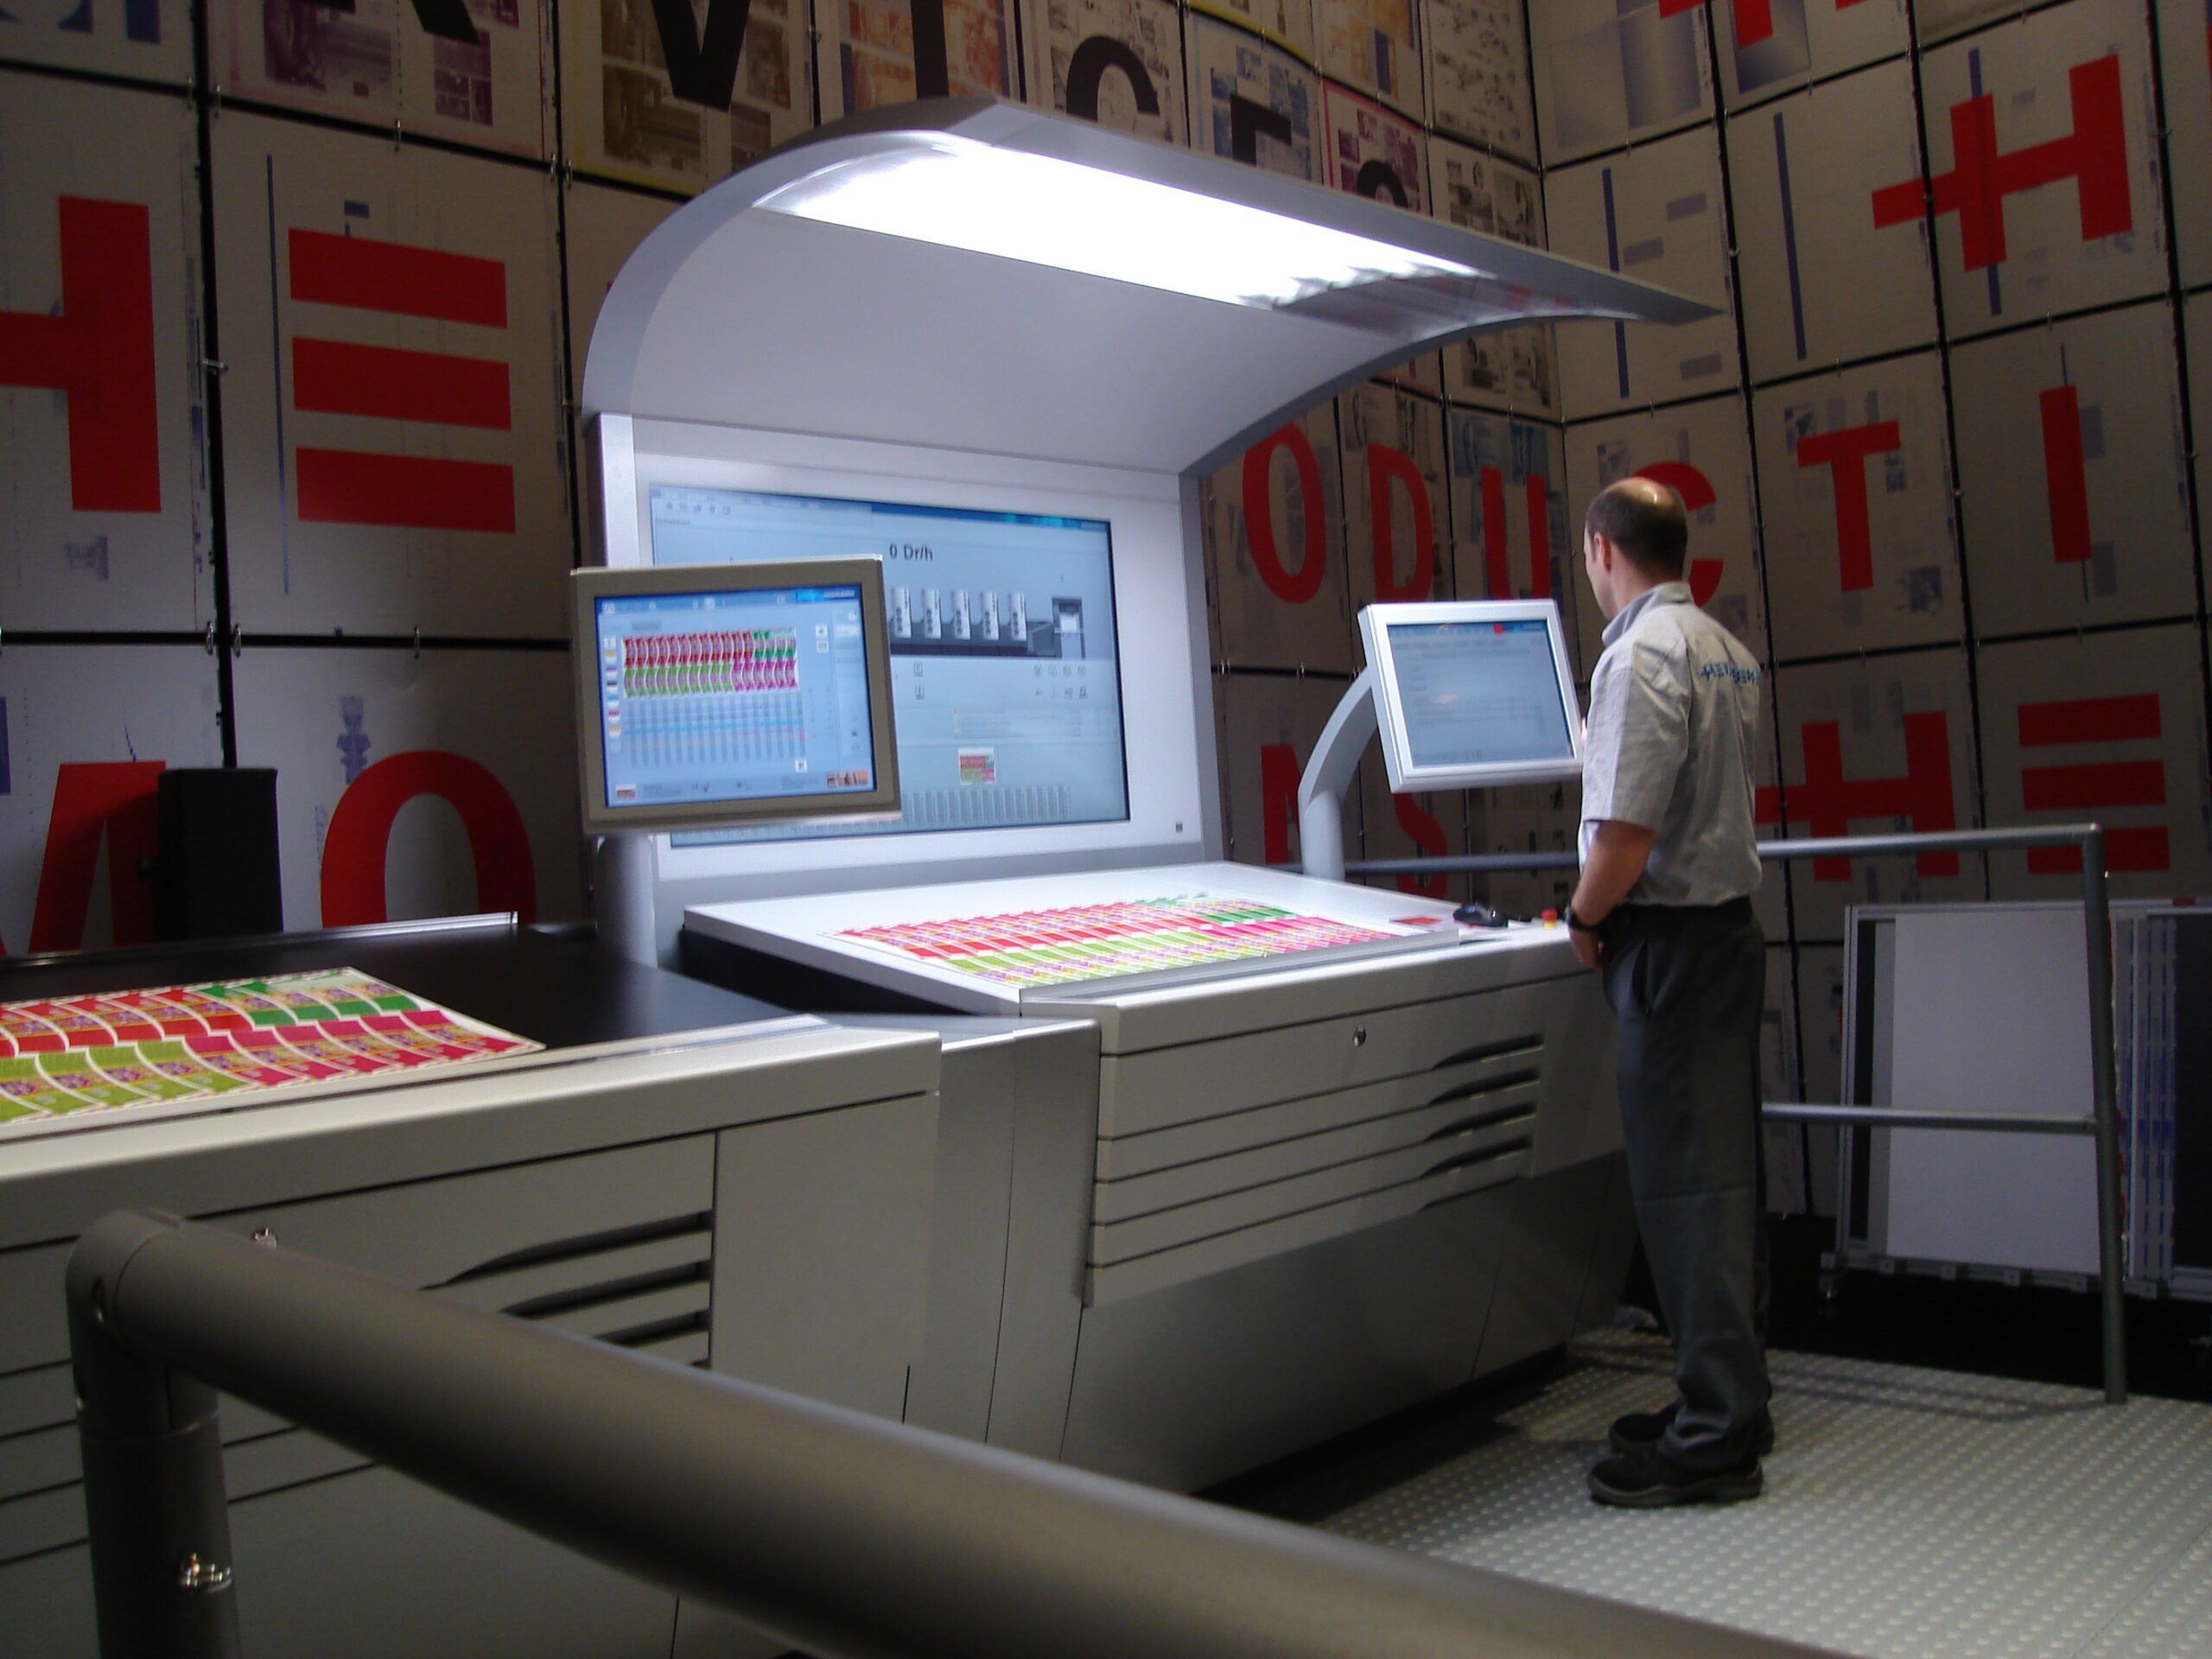
Now comes the moment of truth—your first press sheet.
No matter how carefully you’ve set everything up, you’ll need to make color and registration adjustments.
This isn’t a failure of your setup; it’s simply the nature of multi-color printing.
Registration issues show up as color fringing, blurry text, or images that look slightly “off” even when you can’t immediately identify why.
Your registration marks—those small crosses or targets in the trim area—are your diagnostic tools here.
When colors don’t align properly, these marks will show you exactly which direction and how much each color needs to move.
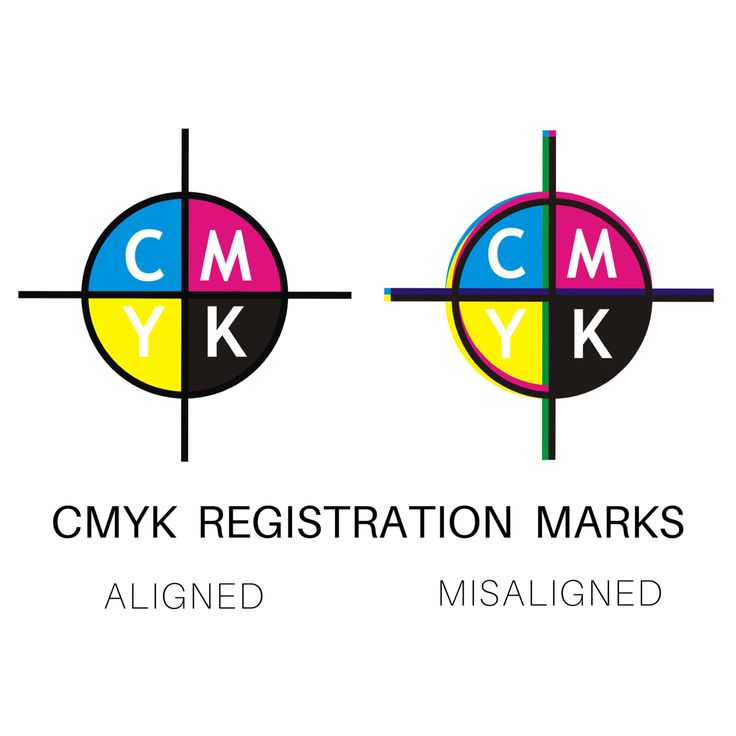
Adjustments are made across three fundamental axes:
Circumferential (Vertical) Register: Advancing or retarding the cylinder timing to move the image up or down the sheet.
Lateral (Axial) Register: Shifting the cylinder side-to-side across the web width.
Diagonal (Cockking) Register: Micro-skewing the plate cylinder to correct for plate mounting anomalies or severe paper distortion.
The correction process requires patience and a systematic approach.
Don’t try to fix everything at once.
Make small adjustments to one color at a time, run another sheet, and evaluate.
Overcorrecting is just as problematic as undercorrecting, and it wastes both time and paper.
Modern presses offer semi-automatic registration systems that can speed up this process, but understanding the fundamentals remains crucial.
You need to know what good registration looks like and how to achieve it manually when automated systems are unavailable or not performing as expected.
Remember: Perfect registration across all colors transforms your printed piece from merely readable to professionally impressive.
Your clients may not understand the technical complexity involved, but they’ll notice the difference in the final product.
The Bottom Line:ROI in the Makeready
These pre-press setup procedures might seem time-consuming when you’re facing tight deadlines, but they’re investments in quality that pay dividends throughout the entire run.
Proper pre-press setup will run smoother, waste less paper, and deliver the consistent quality that keeps customers coming back.
Mastering pre-press setup saves time during production and ensures you’re delivering work that reflects well on your skills and your shop’s reputation.
Every successful print job starts with thorough pre-press preparation.
Frequently Asked Questions (FAQ) – Pre-Press Setup
Why is a pin-register system critical during plate mounting?
The pin-register system uses precisely punched holes on the CTP plate that align perfectly with mechanical pins on the press cylinder. This eliminates human error during plate mounting, ensuring that Cyan, Magenta, Yellow, and Black plates are physically aligned to within fractions of a millimeter before the first sheet is even printed.
What are CIP3/CIP4 ink presets in offset printing?
CIP3/CIP4 presets are digital files generated during the prepress RIP stage that contain the exact image coverage data for a specific print job. The press console uses this data to automatically pre-adjust the ink keys (fountain blade zones) before printing begins, drastically reducing makeready time and ink waste.
What are the three main axes of registration adjustment?
When correcting a misaligned print job, operators adjust the press cylinders along three axes: Circumferential (moving the image vertically up or down), Lateral/Axial (shifting the image horizontally side-to-side), and Diagonal (micro-skewing the plate to fix crookedness).